The full form of FVM is Flutter Version Management. To manage multiple versions of the Flutter SDK on single machine/laptop/system, we can use FVM, when we are handling multiple projects and projects running on multiple Flutter SDK versions , then we can use FVM.
Here are the steps to install FVM in Ubuntu/Mac
Step 1: Open terminal and simply run below command or copy command from brew site, this will install brew in your machine (note : Skip this step , if Brew is already installed in your system).
/bin/bash -c "$(curl -fsSL https://raw.githubusercontent.com/Homebrew/install/HEAD/install.sh)"Press enter to continue

Step2: After installing brew run the below commands or Check terminal, same commands are available there also.
eval "$(/home/linuxbrew/.linuxbrew/bin/brew shellenv)"
sudo apt-get install build-essential

Step 3: Then Run below command
brew tap leoafarias/fvm
Step 4: Then run FVM install command
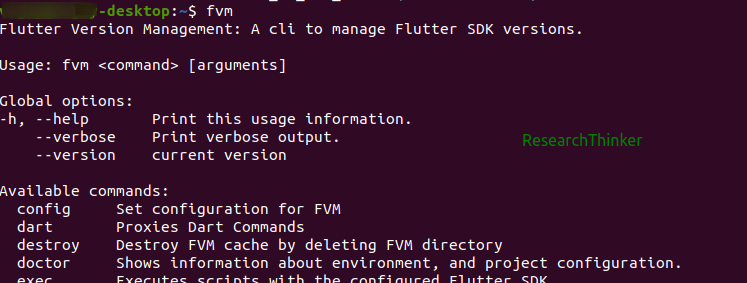
brew install fvmStep 5: Just run the below command to check successful installation of FVM in your system
fvm
Step 6 Now after this add Flutter SDK version through FVM, you can add multiple Flutter SDK version as per your projects requirement.

In this way you can add multiple version of Flutter SDK, Now after setup FVM, you can assign Flutter SDK to specific project through FVM
Navigate to your Flutter project directory and set the Flutter version for that project
$ cd /path/to/your/flutter/project
fvm use <version>
or
fvm use 3.16.0
To check the currently used Flutter version in a project
fvm currentTo check the currently used Flutter version in a project
fvm currentList all installed Flutter versions
fvm listReferences:


